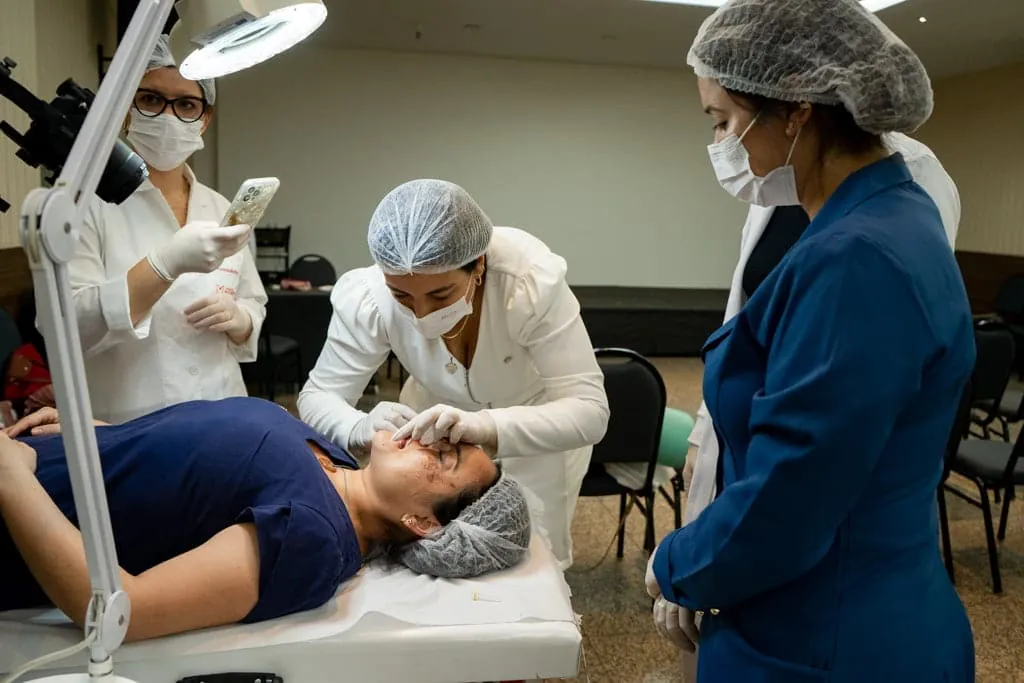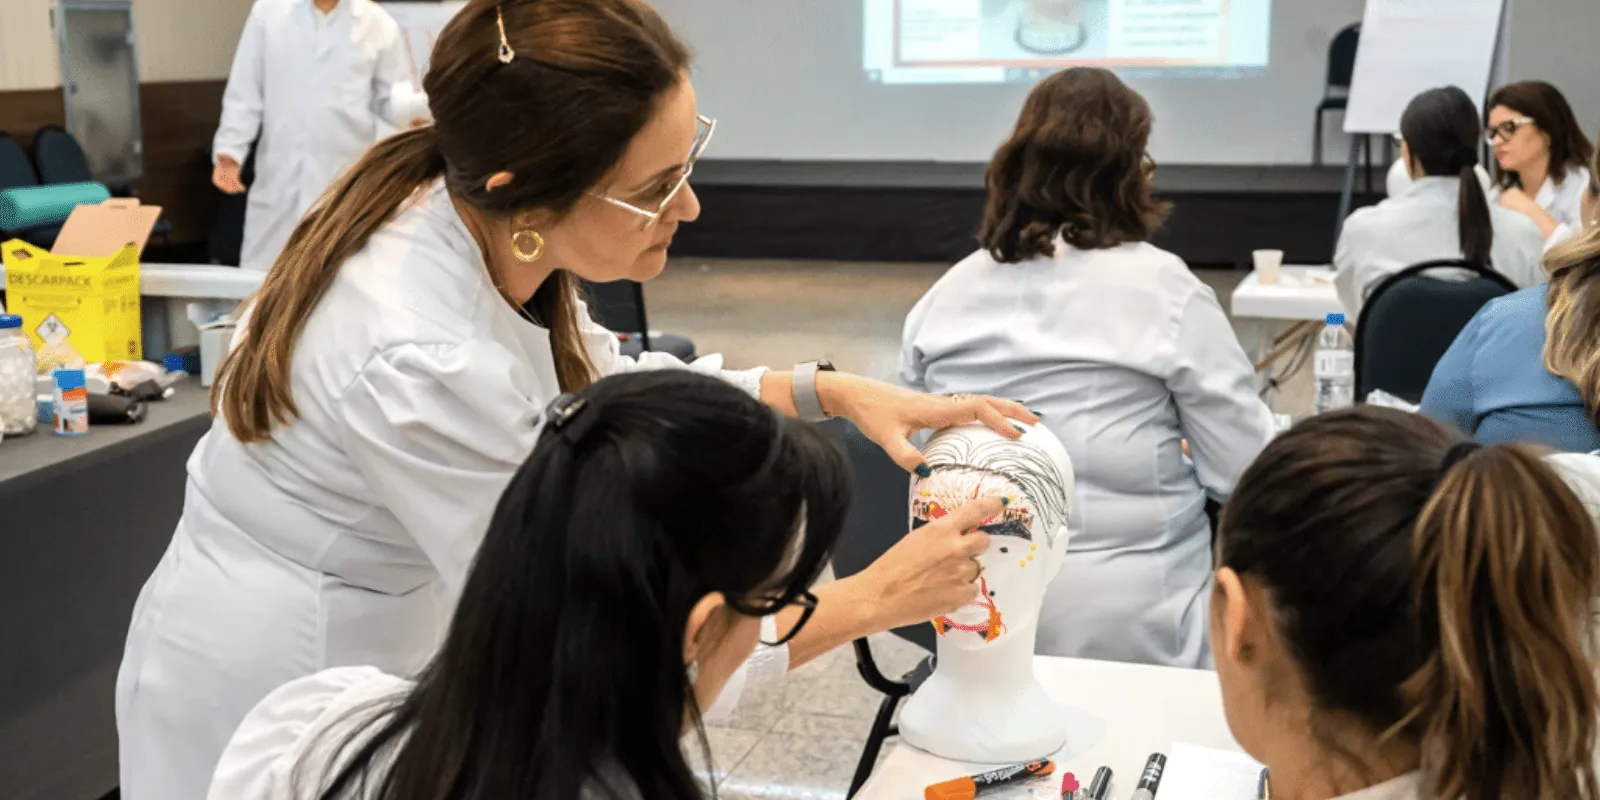
In the asynchronous in-person model, classes combine online theory courses with in-person content taught in clinical immersions at Nepuga/FAPUGA units and teaching clinics.
Contents
We know that the clinical immersion is the moment postgraduate program students look forward to most. Who doesn't dream of putting on the lab coat, arriving at the teaching clinic, handling the materials and putting all their knowledge into practice treating real patients?
If you are a Nepuga/FAPUGA student, your time to practice is closer than you think. So see how scheduling hands-on classes works and get ready for your clinical immersion!
Information about hands-on classes (clinical immersions)
- Clinical immersions at support campuses take place once a minimum quorum of 80% of student capacity is reached, with 30 days' advance notice;
- The teaching clinics are part of the community outreach projects and the program pedagogical projects of the Specialization Center (NEPUGA), linked to Faculdade Ana Carolina Puga (FAPUGA);
- Care of model patients includes procedures such as: botulinum toxin, facial fillers, facial harmonization, ozone therapy, among other procedures relevant to the work of aesthetics professionals.
Guide to scheduling in the Study Portal: learn when to start and how!
Many students have difficulties or questions about how to schedule their clinical immersions in the Study Portal. One of the most common questions is: when can I start scheduling?
The answer is simple: as soon as you pass the theory exam for the Semiology and Facial, Body and Hair Assessment course, you will be ready to start scheduling your clinical immersions.
Another frequent question is: “I've already passed the Semiology theory exam, so now how do I schedule my class?”.
To make this process simpler, we prepared an exclusive tutorial with a detailed step-by-step guide. That way, you can schedule your clinical immersions quickly and easily.
Step by step: how to schedule your clinical immersions
Step 1: Go to the Student Portal;
Open your browser and go to the Student Portal.
Step 2: Navigate to the Study Portal;
Inside the Student Portal, find and click the “Study Portal” section.
Step 3: Go to the “Schedule” option;
In the Study Portal, go to the menu pinned at the top of the page and click “Schedule”.
Step 4: Select “Clinical Immersion Scheduling”;
Inside the “Schedule” section, find and click the specific option “Clinical Immersion Scheduling”.
Step 5: Find and click the “Book” button;
Scroll down the page until you find the “Book” button and click it.
Step 6: Choose the Stage and the City;
Select the stage you want and the city where you want to do the clinical immersion.
Step 7: Choose an Available Date;
Check the available dates (shown in green as “Available Spots”) and select the one that best fits your schedule.
Step 8: Confirm Your Booking;
Click the day you want, under “Available Spots”, and check all the information. Then click “Book”.
Step 9: Confirm or Cancel Your Booking;
Congratulations! You have completed your booking. If you want to confirm the date, class time and address of the chosen unit later, just follow the same process and click “My Bookings” in the top menu of the page.
Now, if you need to cancel your booking, follow the same procedure you used to confirm the class and click the “Cancel” button located below the booking.
Remember that the cancellation deadline is up to 7 calendar days before the scheduled date. After that period, you will need to justify your absence through a request in the Student Portal, within 5 business days after the class.
Article updated on May 7, 2024.
Top Postgraduate QuestionsNEPUGA content team — Núcleo de Especializações Ana Carolina Puga.